Production Learning – Disk Encryption , Snapshot Creation , Disk Creation – Create VM from a Existing disk
Greetings to my fantastic student’s .. I am back with another cool practical . I believe you know I have moved to production from training to learn more . Learning is a never ending process . In last couple of week I have learned lot’s of thing and I am very happy for that .
This post is a combination of multiple practical . If you follow this document you will be able to:
- Encrypt your Windows OS disk
- Move a VM from AV set
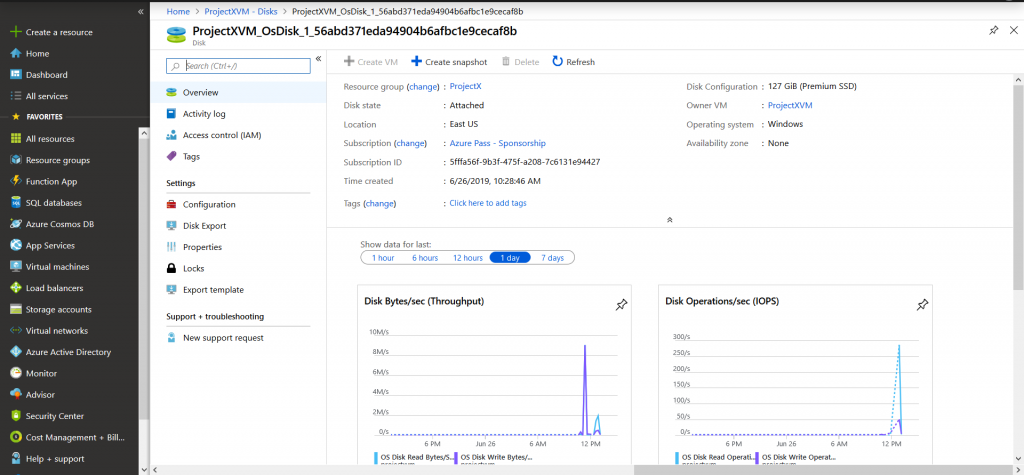
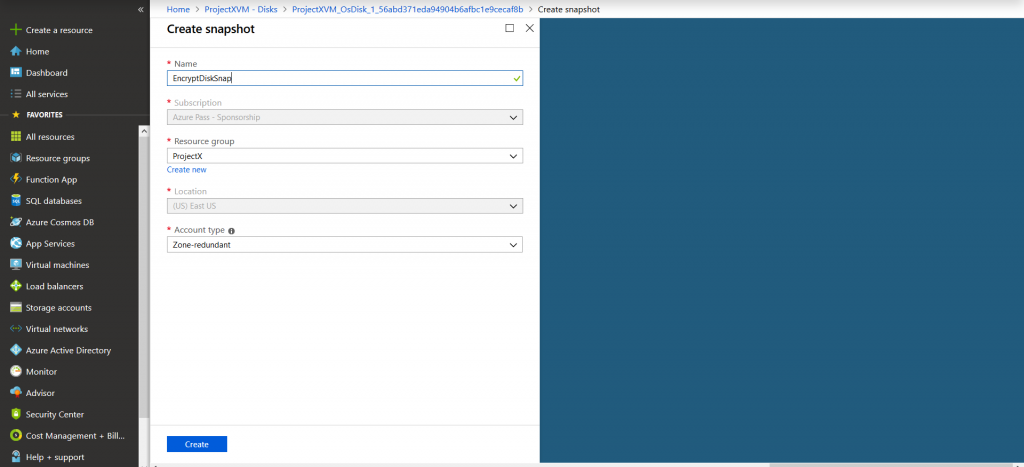
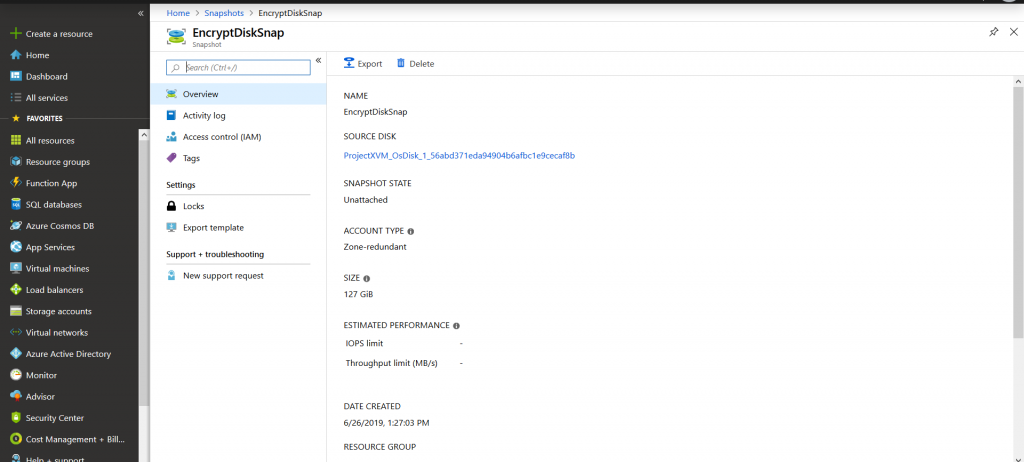
- Create snapshot from a encrypted OS disk
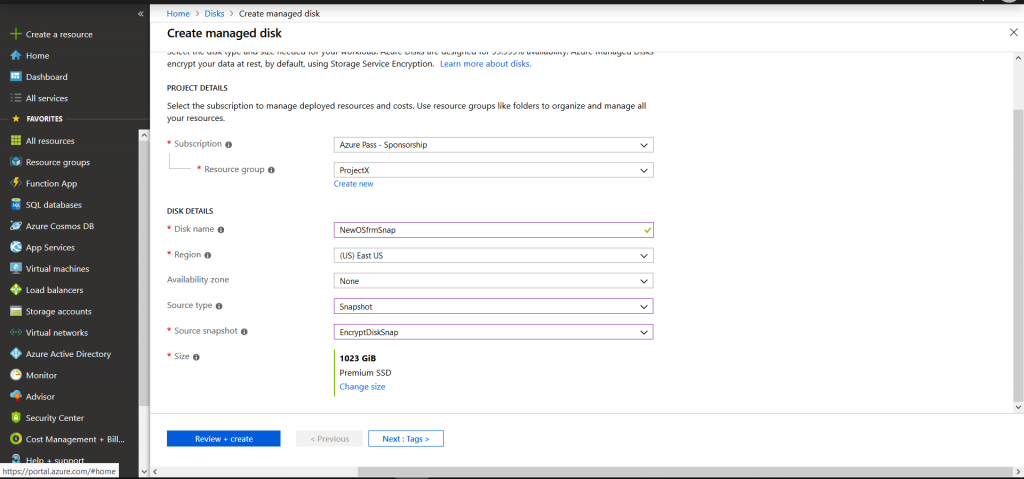
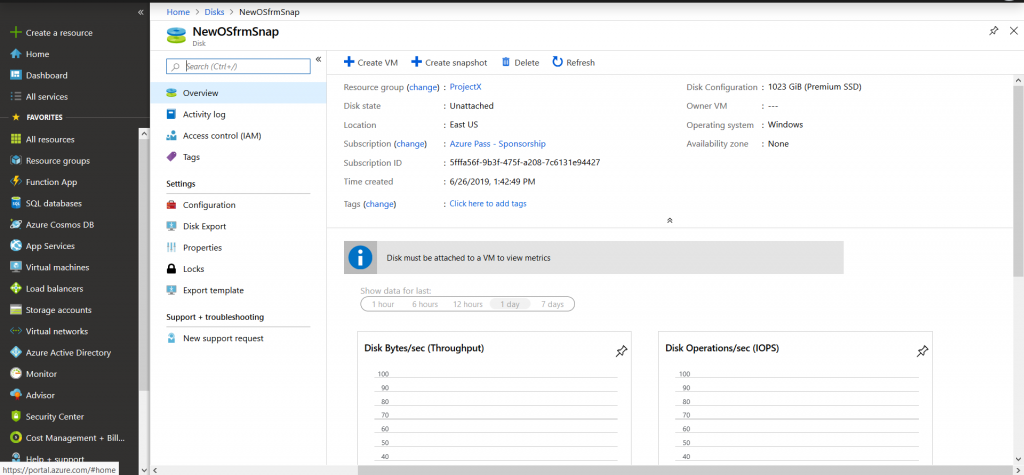
- Create Disk from that snapshot
- And finally create VM from that disk .
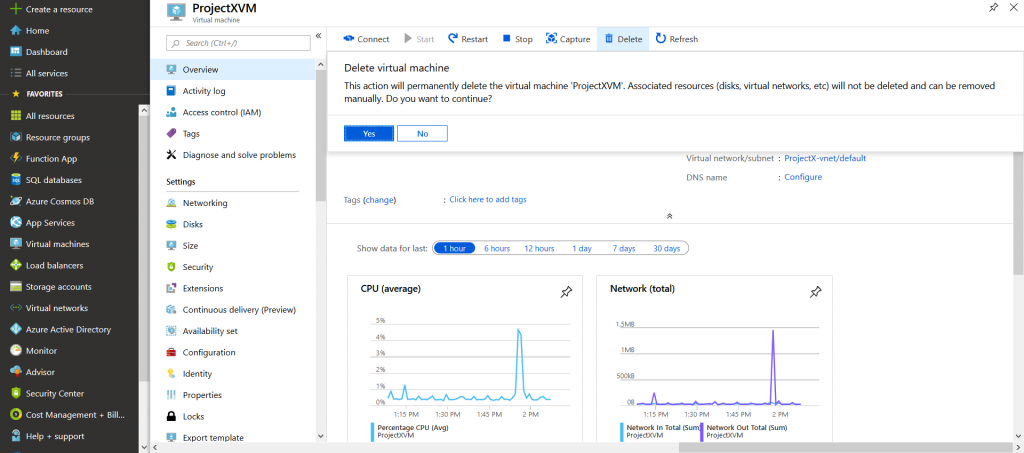
This document is a step by step guidance to remove a azure VM from an existing Availability Set . To make the scenario more realistic first I have encrypted the VM OS disk and then create snapshot from that disk and then create a disk from that snapshot then spin up the VM .
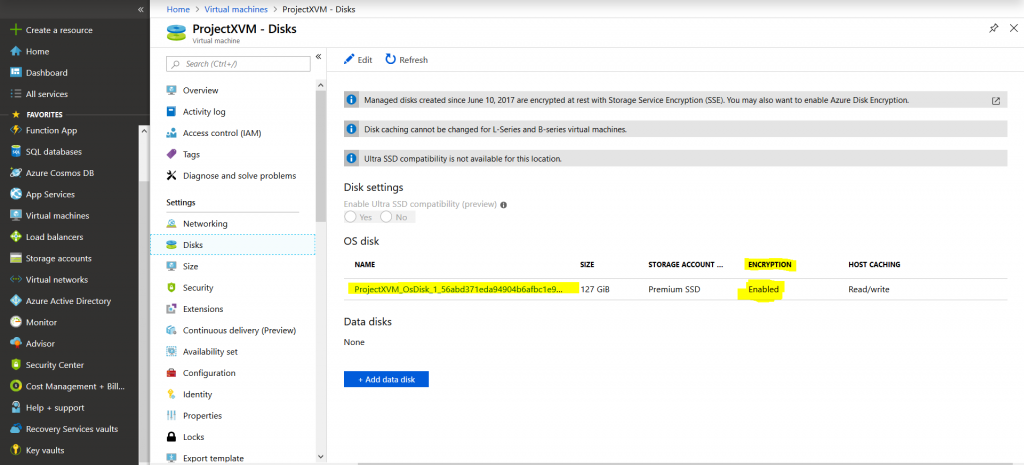
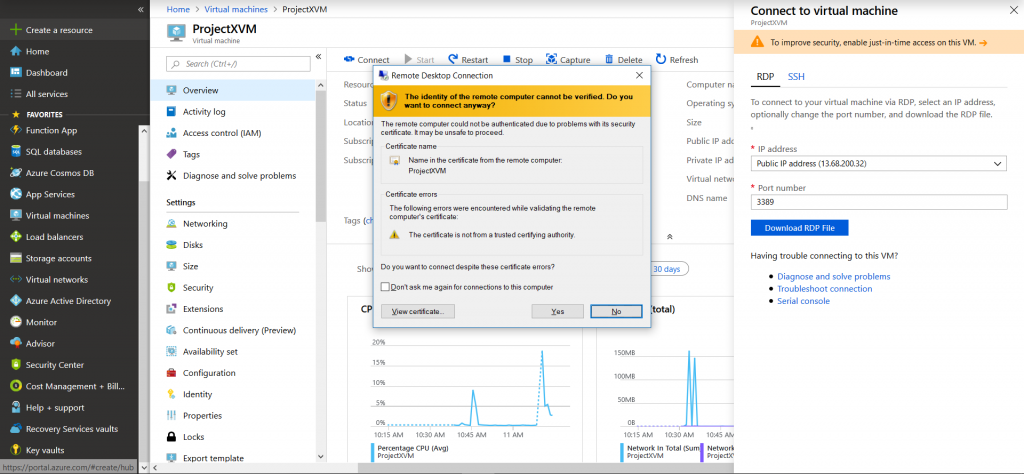
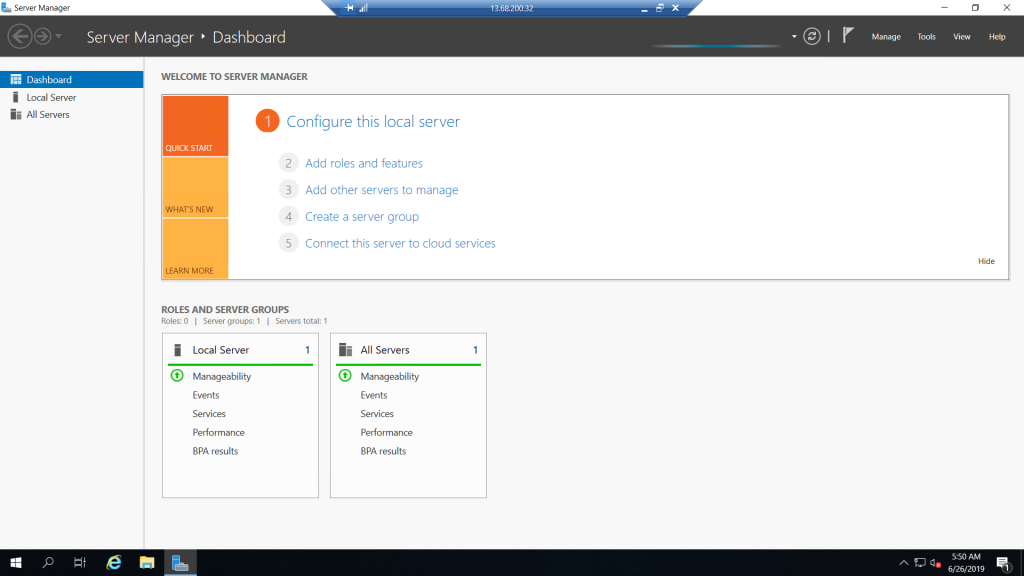
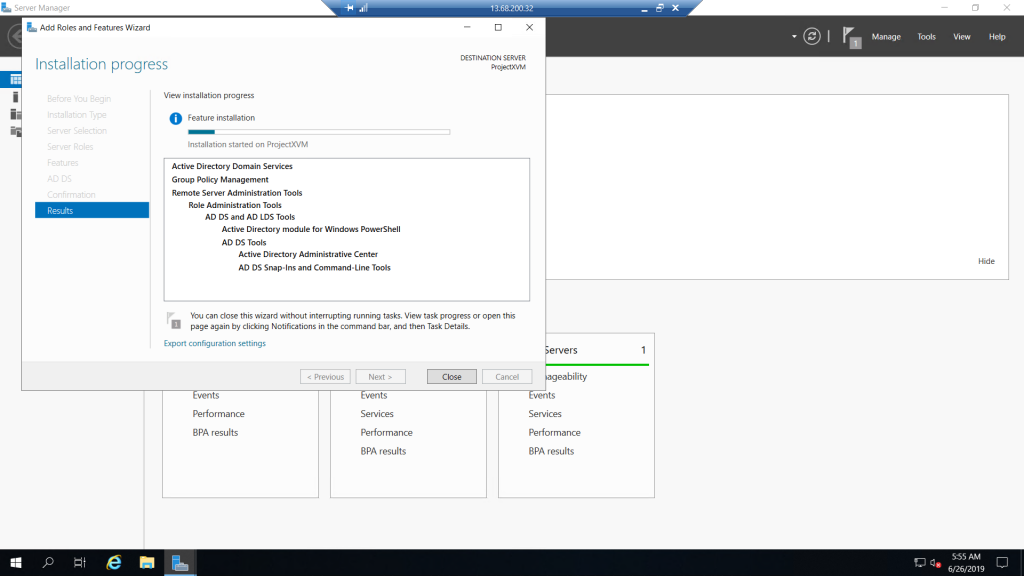
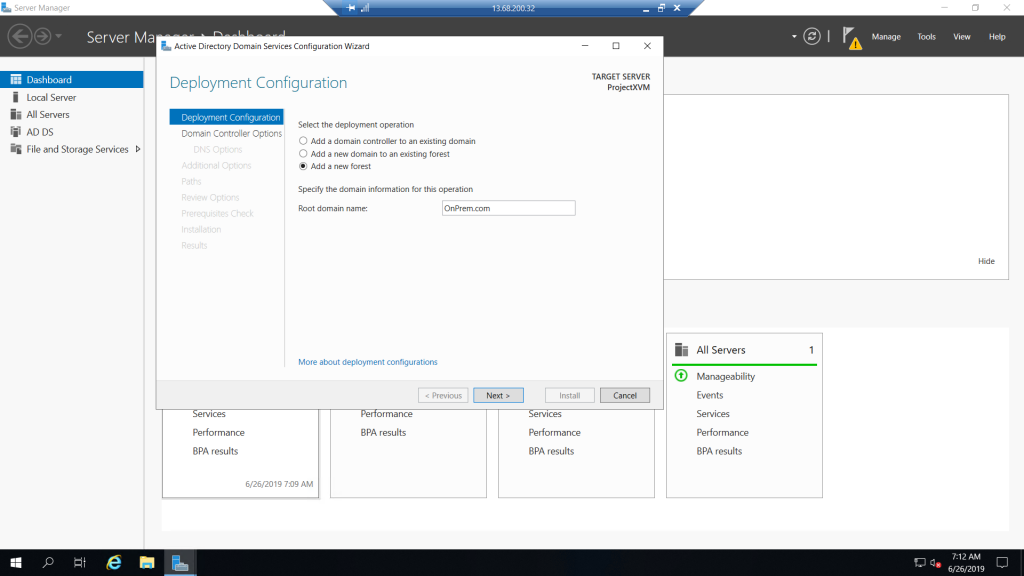
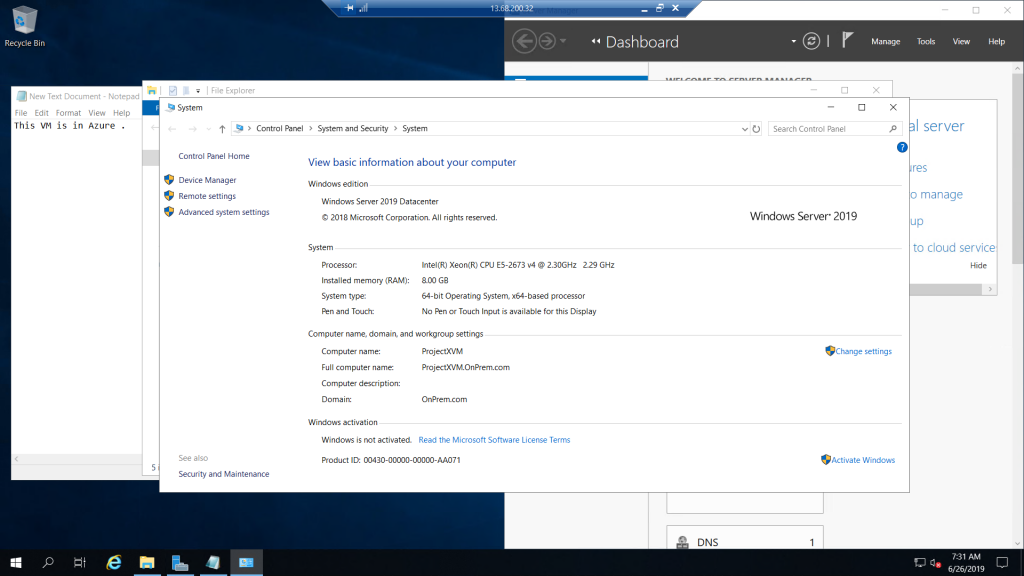
This is the first step to create a VM . Normally you will get a VM created in your subscription .
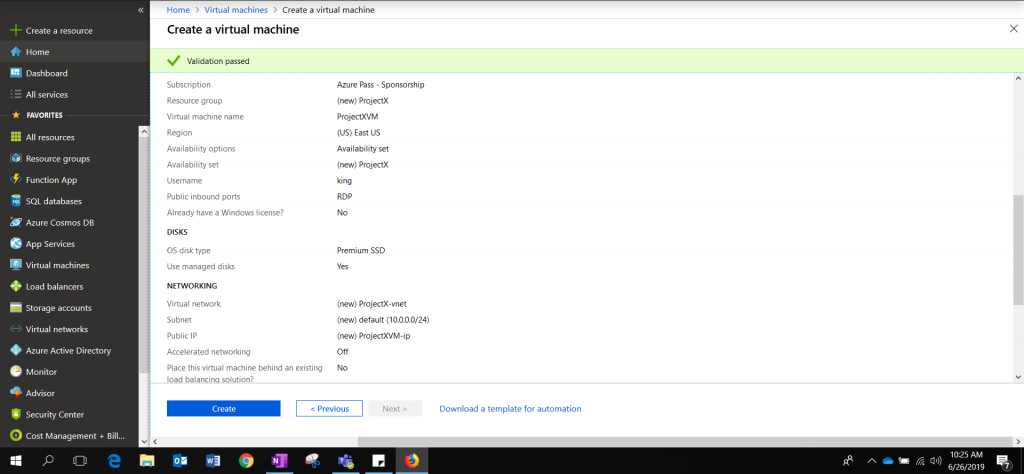
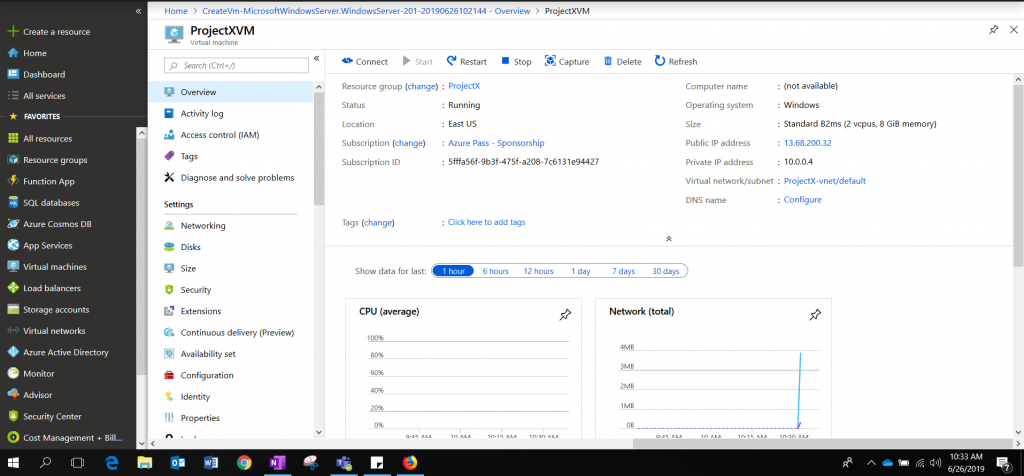
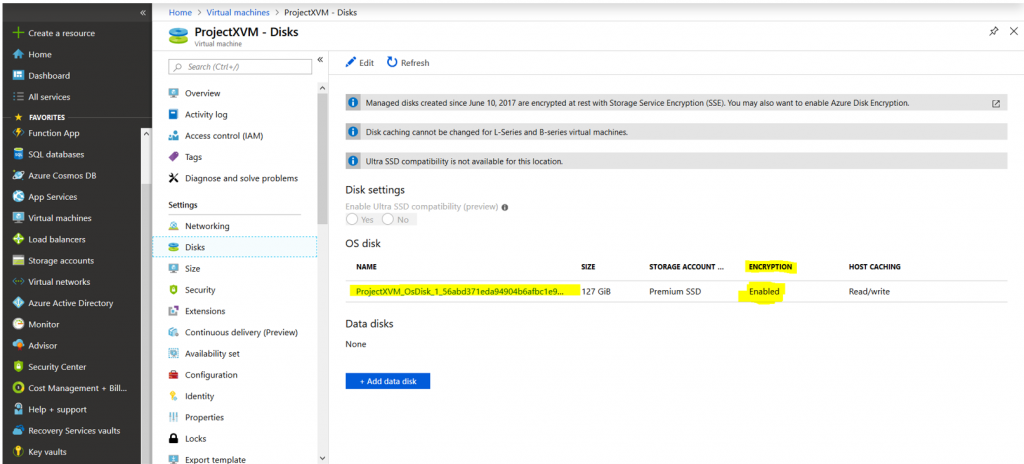

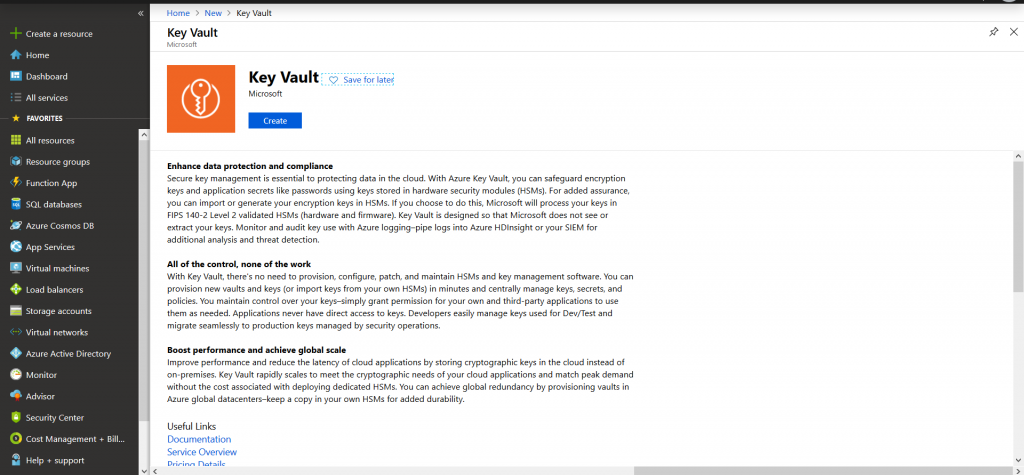

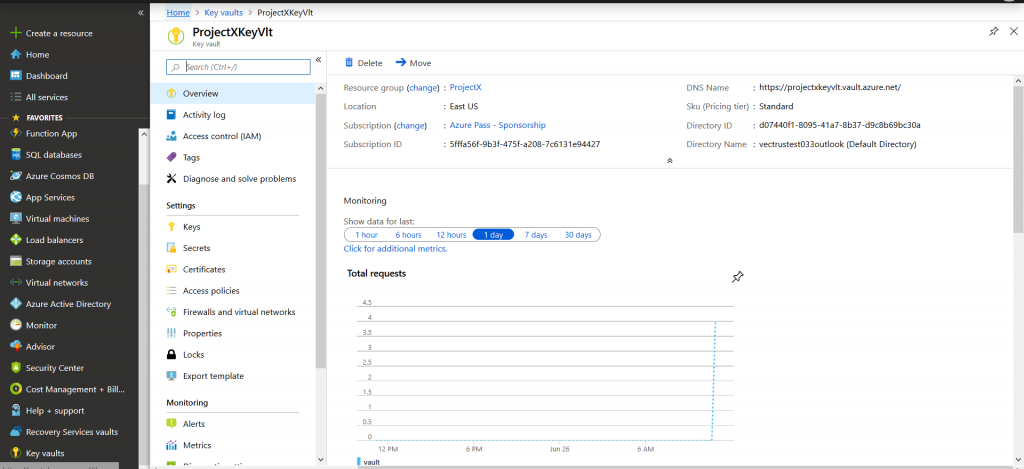


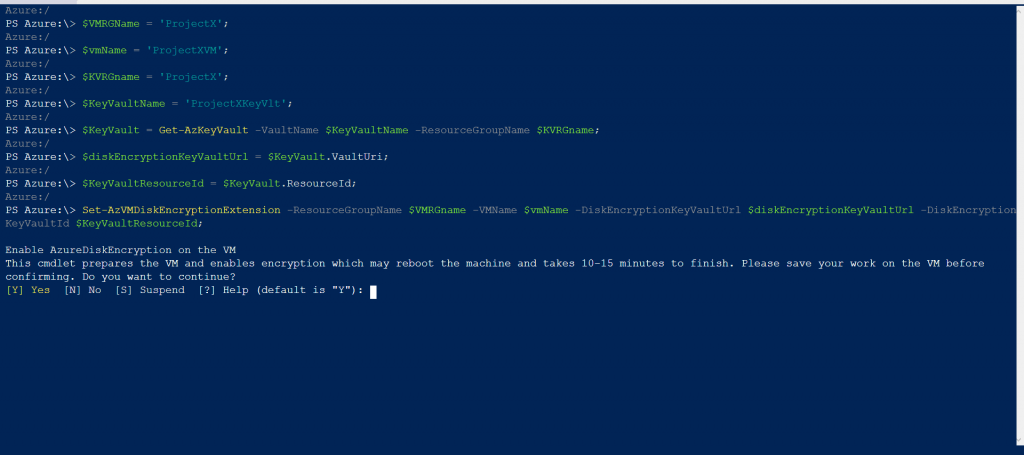
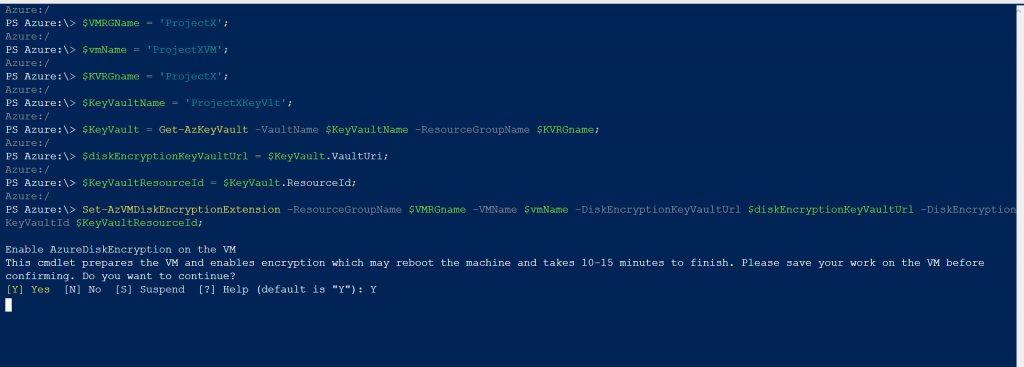
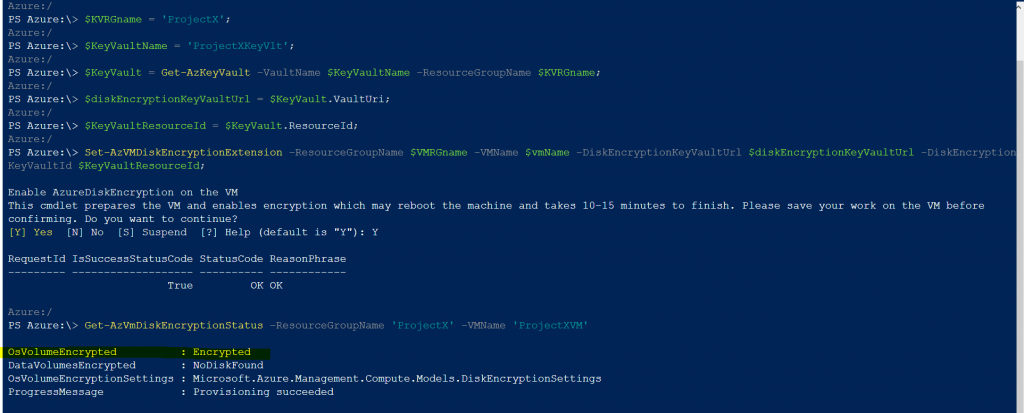


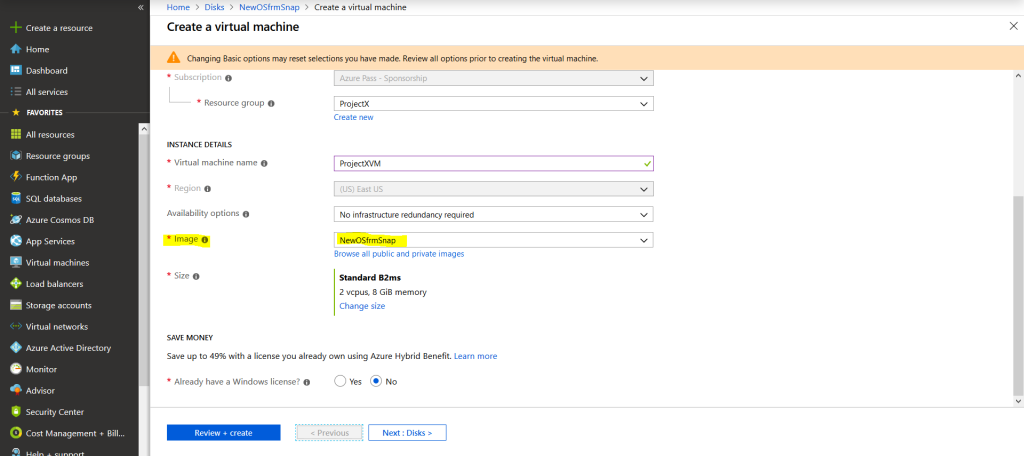
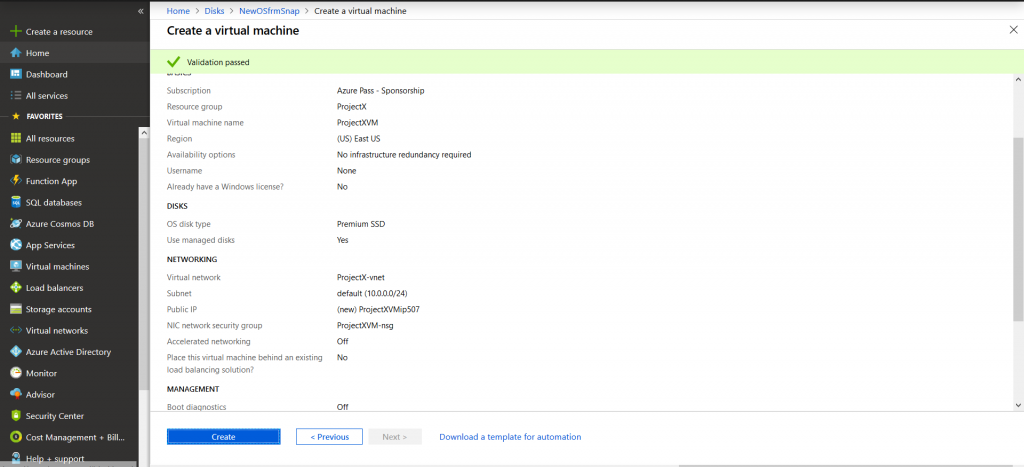


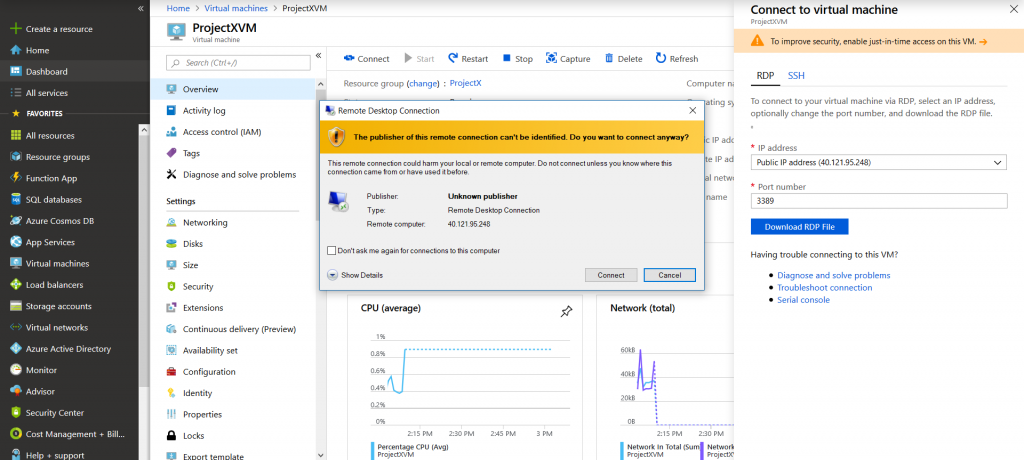
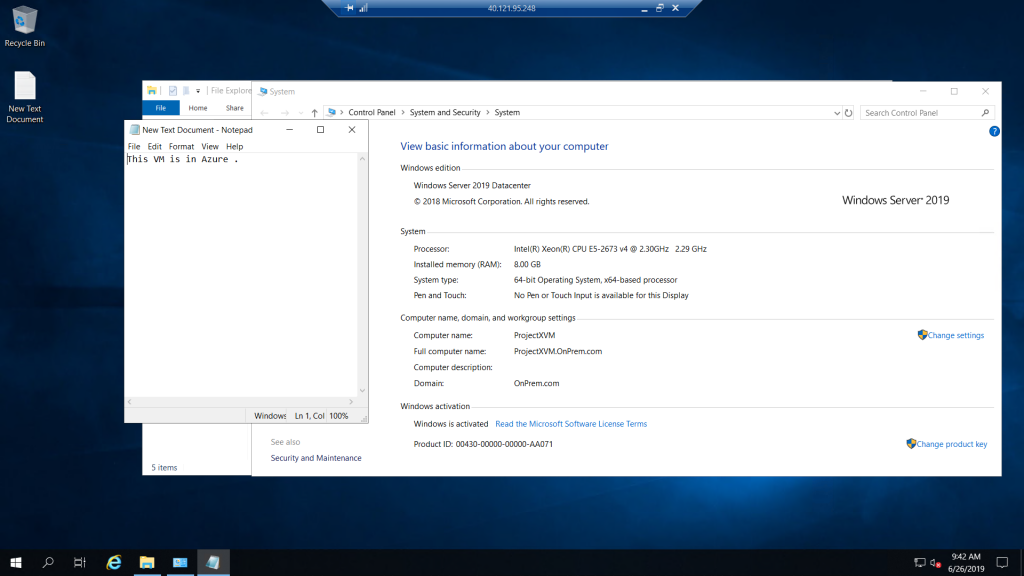
Code Use In this task :
Before run this command please make sure you have open power-shell in admin and you have installed and imported AzureRM command .
#Intsall-module AzureRM
#import-module AzureRM

login-azurermaccount

$VMRGName = 'ProjectX';

$vmName = 'ProjectXVM';

$KVRGname = 'ProjectX';

$KeyVaultName = 'ProjectXKeyVlt';

$KeyVault = Get-AzKeyVault -VaultName $KeyVaultName -ResourceGroupName $KVRGname;

$diskEncryptionKeyVaultUrl = $KeyVault.VaultUri;

$KeyVaultResourceId = $KeyVault.ResourceId;

Set-AzVMDiskEncryptionExtension -ResourceGroupName $VMRGname -VMName $vmName -DiskEncryptionKeyVaultUrl $diskEncryptionKeyVaultUrl -DiskEncryptionKeyVaultId $KeyVaultResourceId;

Get-AzVmDiskEncryptionStatus -ResourceGroupName 'ProjectX' -VMName 'ProjectXVM'